A Methodical Proof of Swami ARMananda Theorem
Author: Ananda Kammampati
Dated: Sept 2021
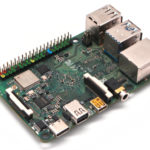
Swami ARMananda's Theorem states:
'RockyLinux + ARM Embedded + Qemu + Virt-Manager + Virtual Machines + podman Containers + Open Source Software = Kick-a$$'
Zabbix Monitoring Dashboard on ARM SBC

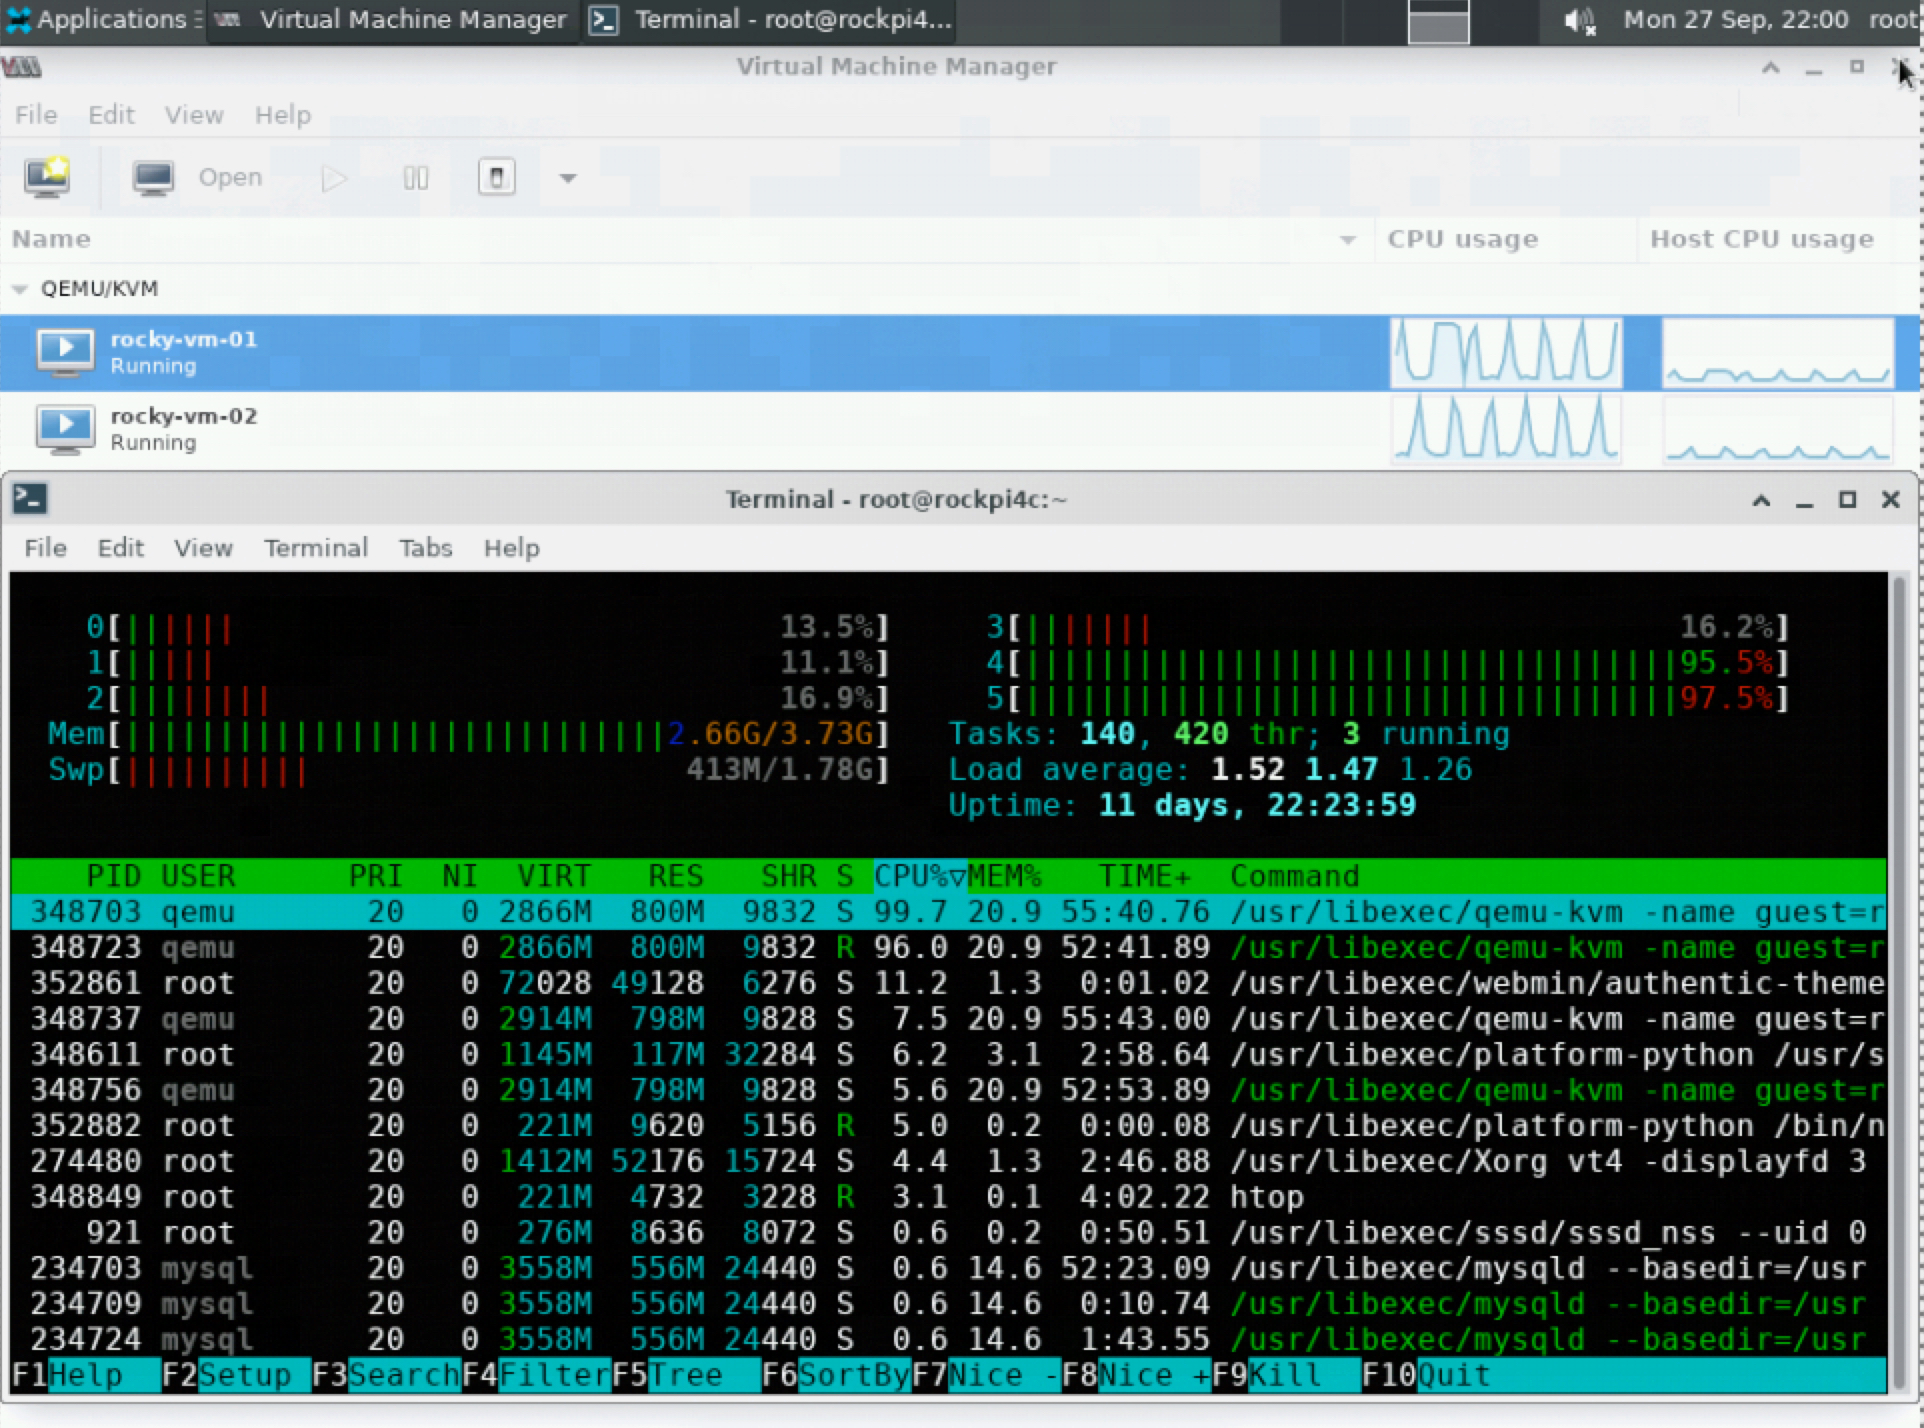
Virt-Manager + Qemu + RockyLinux VMs on ARM SBC
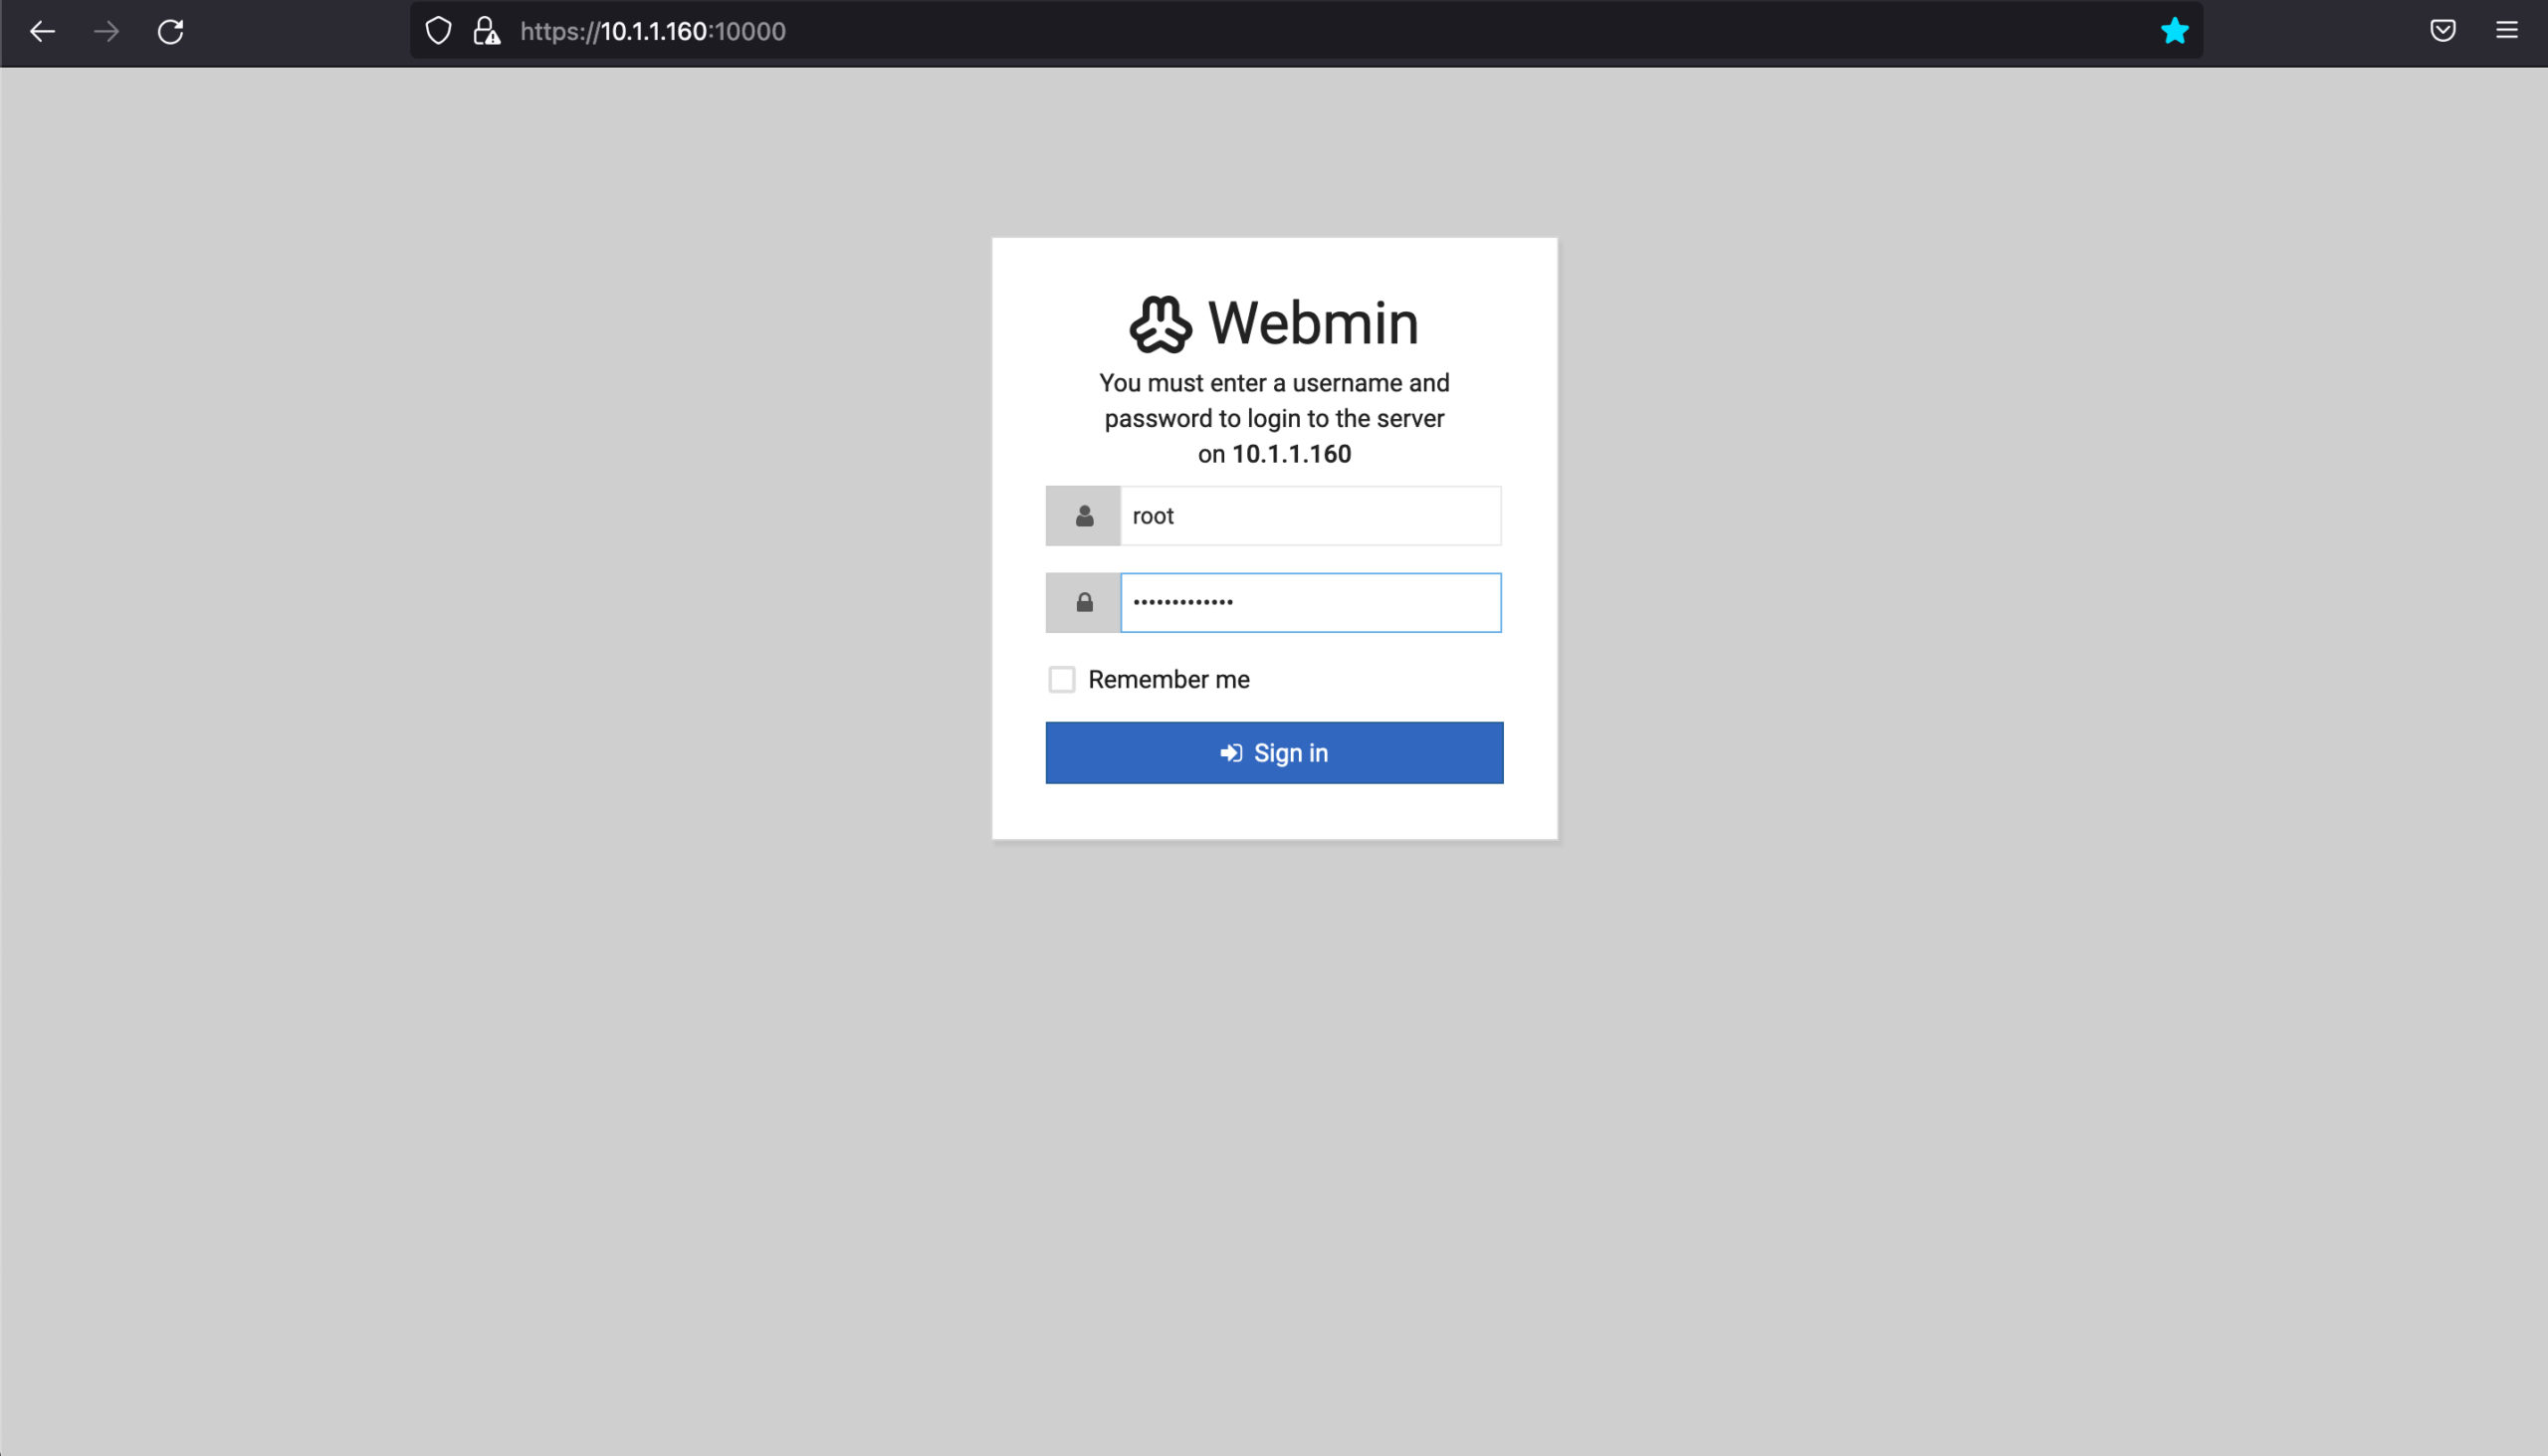
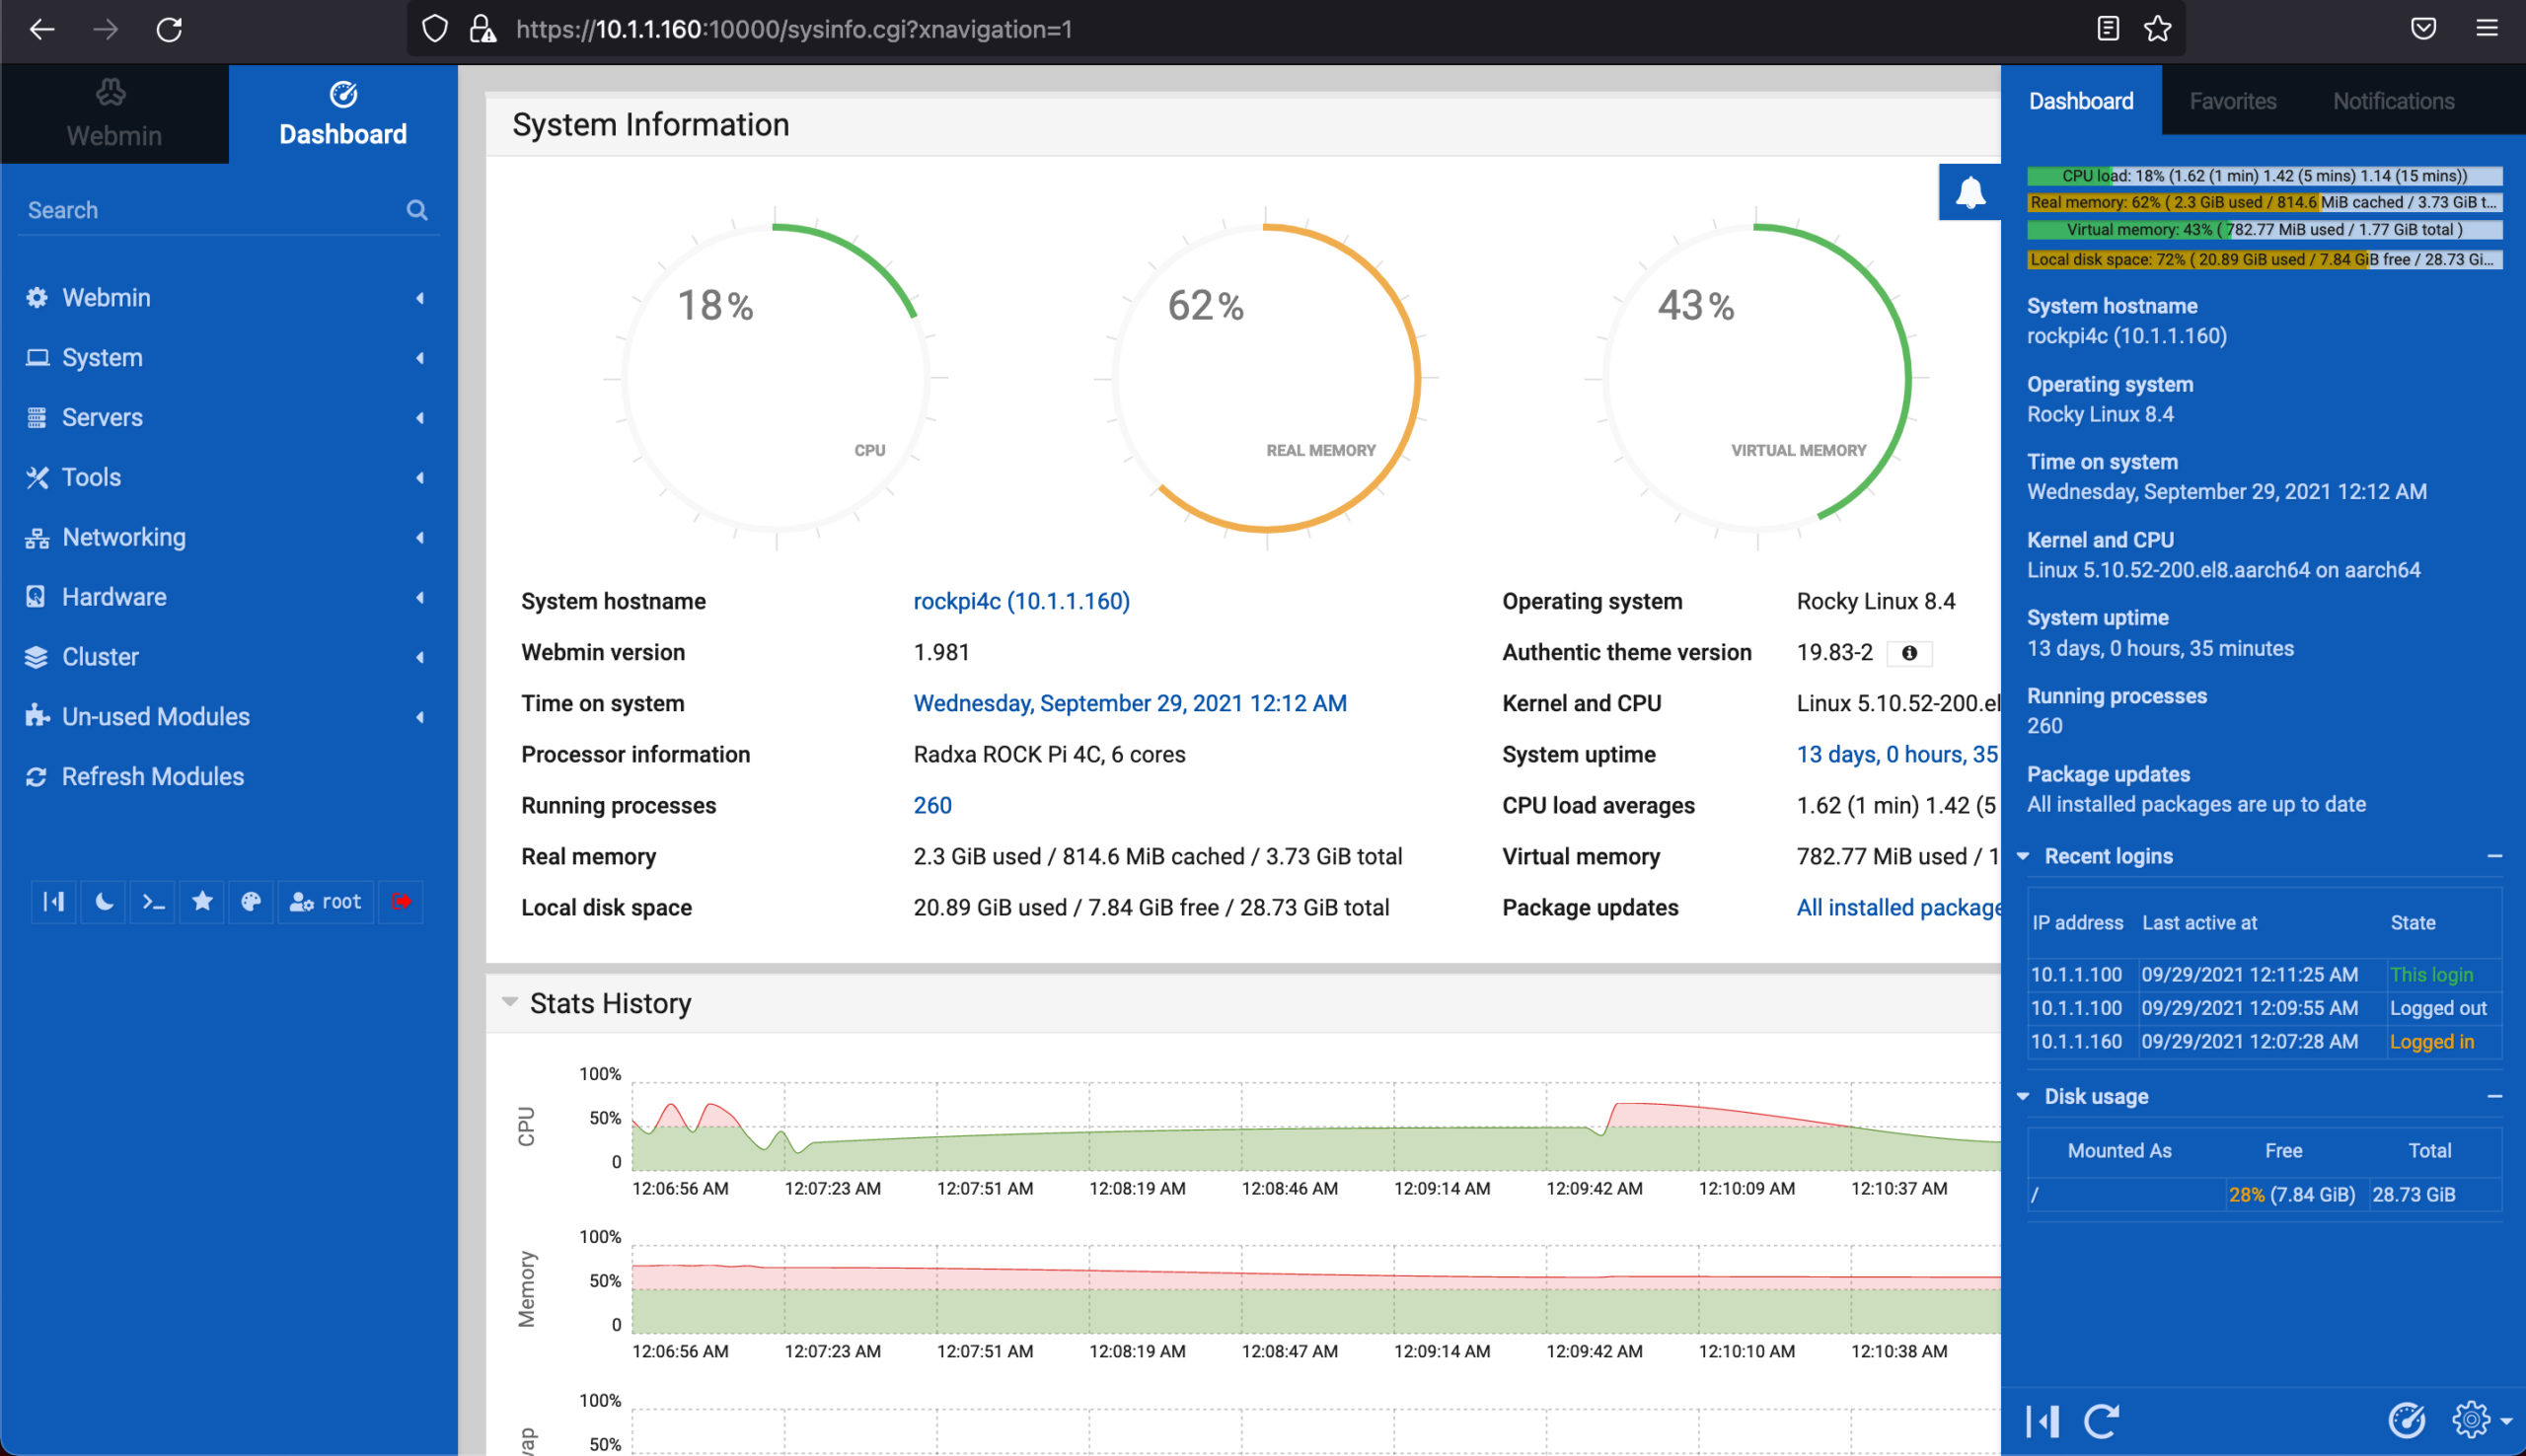
Webmin Administration on ARM SBC
Goals:
- To prove the above theorem methodically, by building the entire stack from scratch, from bottom to top on Rockpi4c SBC
- Installing RockyLinux8 on ARM64 Rockpi4c first
- Installing Opensource softwares namely Qemu, Virt-Manager and Zabbix, Mariadb, PHP, WordPress, webmin
- Running two virtual machines with Qemu and Virt-Manager on Rockpi4c SBC
- Running Zabbix Software Agents on the virtual machines
- Running podman Containers inside each virtual machine
- Hosting frontend of WordPress as a podman Container inside on the first virtual machine
- Hosting backend (mariadb) of WordPress as a podman container inside the second virtual machine
- Running Zabbix Software on the Host to monitor the virtual machines
- Documenting all the steps needed and share
- Giving due credits go to all sources and respective Authors
Prerequisites:
- Patience
Disclaimer:
- Please use this article only as a reference
- This article is primarily written for a cut-and-paste friendly approach
- For detailed explanations please refer the links listed under Credits
- I only figured out how to put them all together
- I make no claims that I understood all of it. Mostly I never will 😉
Source of Inspiration:
- DorianDotSlash's awesome video
Required Items:
- Rockpi4c embedded board, 32GB SD Card, RockyLinux8 for Rockpi4c, Zabbix rpms for RockyLinux8
- RockyLinux8 for Raspberry Pi4 is also available (though I haven't played with it myself yet)
Configuration:
- Rockpi4c with 4GB RAM, a 32GB SD Cards with 2 partition on it
- 1 x 1GB DOS Boot partition, 1 x Linux partition taking over the rest of available space
- 2 virtual machines 512MB RAM, 10GB diskspace (carved out of the above Linux partition)
- Both Host and virtual machines run RockyLinux8 built for ARM64
Methodology:
- Install virt-manager, qemu-kvm and mysql on the host (ie, Rockpi4c embedded)
- Install Zabbix Server (monitoring software) on host
- Assign IP address 10.1.1.160/24 to host
- Create 2 virtual machines and install RockyLinux8 on both of them
- Install Zabbix Agents on both of them
- Assign IP Address 192.168.122.45/24 to rocky-vm-01
- Assign IP address 192.168.122.191/24 to rocky-vm-02
- Install Mariadb as the backend to WordPress, running as podman container inside rocky-vm-02
- Install WordPress frontend, running as a podman container inside rocky-vm-01
- Monitor both the virtual machines from Zabbix dashboard UI running on the host
- Monitor them all with htop and Webmin UI Dashboard
Observation:
- Because I alloted only 512MB of RAM to each virtual machine, they were relatively slow
- While creating the mariadb podman container, I have to give 20 minutes for the initialization alone to complete
- (This may be a good time to go practice your Guitar, Piano, Yoga or get your groceries done)
- These steps works consistently but does need a lot of fine tuning, if ever considered for Production
Videos:
- I have placed videos in appropriate places for reference
- Some are a bit longer so might have to speed up
Credits:
- https://skiprocky.linuxdn.org/RockyRpi/
- https://www.youtube.com/watch?v=zzpja5TdYkA
- https://joerismissaert.dev/podman-101-managing-and-running-containers/
- https://bestmonitoringtools.com/how-to-install-zabbix-server-on-centos-or-rhel/
- https://www.smallbizgeek.co.uk/wordpress-duplicator-ziparchive-failure-solution/
- https://www.tecmint.com/install-and-configure-zabbix-agents-on-centos-redhat-and-debian/
- https://www.digitalocean.com/community/tutorials/how-to-install-and-use-webmin-on-centos-7
Special Thanks:
- RockyLinux community member @Skip Grube for building and sharing Zabbix rpms and Rockylinux8 image for Raspberry Pi4
- RockyLinux community members @stack and @Neil Hanlon in helping me out with Zabbix and with dnf
- RockyLinux community member @Markvnl for building RockyLinux8 image for Rockpi4c (refer my previous article)
- My sincere apologies if I have missed anyone else
Step 01: Installing virt-manager, qemu on Rockpi4c Host (10.1.1.160)
host# whoami
root

host# uname -a
Linux rockpi4c 5.10.52-200.el8.aarch64 #1 SMP Mon Aug 9 23:04:44 CEST 2021 aarch64 aarch64 aarch64 GNU/Linux

host# cat /etc/*release
Rocky Linux release 8.4 (Green Obsidian)
NAME="Rocky Linux"
VERSION="8.4 (Green Obsidian)"
ID="rocky"
ID_LIKE="rhel centos fedora"
VERSION_ID="8.4"
PLATFORM_ID="platform:el8"
PRETTY_NAME="Rocky Linux 8.4 (Green Obsidian)"
ANSI_COLOR="0;32"
CPE_NAME="cpe:/o:rocky:rocky:8.4:GA"
HOME_URL="https://rockylinux.org/"
BUG_REPORT_URL="https://bugs.rockylinux.org/"
ROCKY_SUPPORT_PRODUCT="Rocky Linux"
ROCKY_SUPPORT_PRODUCT_VERSION="8"
Rocky Linux release 8.4 (Green Obsidian)
Rocky Linux release 8.4 (Green Obsidian)
Rocky Linux release 8.4 (Green Obsidian)

host# dnf install -y virt-manager qemu-kvm

host# sync ; reboot
Step 02: Installing Zabbix Server On Rockpi4c Host
host# dnf localinstall https://skiprocky.linuxdn.org/RockyRpi/RockyRpi-extras/zabbix-server-mysql-5.0.15-1.el8.aarch64.rpm

host# vi /etc/yum.repos.d/Rocky-Extras.repo [Added @Skip Grube's above Repo]
-----
[extras]
name=Rocky Linux $releasever - Extras
#mirrorlist=https://mirrors.rockylinux.org/mirrorlist?arch=$basearch&repo=extras-$releasever
#baseurl=http://dl.rockylinux.org/$contentdir/$releasever/extras/$basearch/os/
baseurl=https://skiprocky.linuxdn.org/RockyRpi/RockyRpi-extras/
gpgcheck=0
enabled=1
#gpgkey=file:///etc/pki/rpm-gpg/RPM-GPG-KEY-rockyofficial
-----

host# dnf install -y zabbix-web-mysql zabbix-apache-conf

host# dnf install -y mysql mysql-server

host# systemctl start mysqld.service

host# systemctl status -l mysqld.service

host# systemctl enable mysqld.service
Step 03: Configure MySQL Server (on host)
host# mysql
mysql> quit

host# mysql_secure_installation

There are three levels of password validation policy: 0 (Selected LOW)
New password: rootDBpass
Re-enter new password: rootDBpass
Remove anonymous users? y
Disallow root login remotely? y
Remove test database and access to it? y
Reload privilege tables now? y

host# mysql -uroot -p'rootDBpass' -e "create database zabbix character set utf8 collate utf8_bin;"

host# mysql -uroot -p
Enter password: rootDBpass

mysql> create user 'zabbixuser'@'localhost' identified by 'zabbixDBpass1!';
mysql> GRANT ALL ON zabbix.* TO 'zabbixuser'@'localhost' with GRANT OPTION;
mysql> flush privileges;
mysql> quit;

host# mysql -uroot -p'rootDBpass' zabbix -e "set global innodb_strict_mode='OFF';"

host# zcat /usr/share/doc/zabbix-server-mysql*/create.sql.gz | mysql -uzabbixuser -p'zabbixDBpass1!' zabbix

host# mysql -uroot -p'rootDBpass' zabbix -e "set global innodb_strict_mode='ON';"
Step 04: Configure Zabbix Server Configuration file
host# vi /etc/zabbix/zabbix_server.conf
-----
SourceIP=10.1.1.160
DBUser=zabbixuser
DBPassword=zabbixDBpass1!
-----

host# systemctl restart zabbix-server

host# systemctl enable zabbix-server

host# systemctl status -l zabbix-server
Step 05: Configure php for Zabbix frontend
host# vi /etc/php-fpm.d/zabbix.conf
-----
php_value[date.timezone] = America/Los_Angeles
-----

host# systemctl restart httpd php-fpm

host# systemctl enable httpd php-fpm

host# systemctl status -l httpd php-fpm
Step 06: Configure Zabbix Server from UI
From Host, open up the Browser to : http://10.1.1.160/zabbix

Credentials to Login after initial configuration : Admin / rockylinux
Step 07: Invoke Virt-Manager and create 2 virtual machines
Now that Zabbix Server is configured on the host, time to create 2 virtual machines using Virt-Manager
Step 08: Downloading RockyLinux ISO for ARM and CDROM redirection
On the host, open up the browser and download RockyLinux8 ISO file for ARM. Then modify both Virtual Machines by pointing their CDROMs to the downloaded ISO file
Step 09: Booting up the virtual machines
With both virtual machines CDROMs redirected to the downloaded RockLinux8 ISO for ARM file, power them on. Refer the videos below for their bootup output. Please bare in mind that each video is 8-10+ minutes long. So you may want to speed them up if needed.
Step 10: Install Zabbix Agent on virtual machines rocky-vm-01 and rocky-vm-02
Repeat these steps in both the virtual machines, but with their right hostnames in their respective zabbix_agentd.conf file
rocky-vm-01# whoami
root

rocky-vm-01# hostname
rocky-vm-01

rocky-vm-01# dnf install -y logrotate

rocky-vm-01# rpm -ivh https://skiprocky.linuxdn.org/RockyRpi/RockyRpi-extras/zabbix-agent-5.0.15-1.el8.aarch64.rpm

rocky-vm-01# vi /etc/zabbix/zabbix_agentd.conf
-----
Server=10.1.1.160 ---------------------------->> IP Address of Host running Zabbix Server
ServerActive=10.1.1.160 ---------------------->> IP Address of Host running Zabbix Server
Hostname=rocky-vm-01 ------------------------->> for the second virtual machine, Hostname=rocky-vm-02
-----

rocky-vm-01# systemct restart zabbix-agent

rocky-vm-01# systemct status -l zabbix-agent

rocky-vm-01# netstat -tulpn|grep zabbix

rocky-vm-01# systemct enable zabbix-agent
Step 11: Adding virtual machines on Zabbix Server Dashboard
Once Zabbix Agents are installed on both the Virtual Machines, the next step is to add the virtual machines details onto Zabbix Server so that they can now be monitored
Step 12: Building Podman Containers
Now that Zabbix part is done, let us get on with building podman containers on each virtual machine
Step 13: Steps carried out in rocky-vm-02 (192.168.122.191)
- Configure the backend first
- So let us begin with configuring rocky-vm-02 first to create and run mariadb within a podman container
- We are going to create the following files needed to build and run podman containers in this virtual machine
- Dockerfile needed for mariadb container
- build.sh to build mariadb container
- run script to run mariadb container
rocky-vm-02# hostname
rocky-vm-02

rocky-vm-02# whoami
root

rocky-vm-02# pwd
/root

rocky-vm-02# dnf install -y podman buildah

rocky-vm-02# podman --version
podman version 3.0.2-dev

rocky-vm-02# buildah --version
buildah version 1.19.8 (image-spec 1.0.1-dev, runtime-spec 1.0.2-dev)

rocky-vm-02# vi /etc/containers/registries.conf
-----
[registries.insecure]
registries = ['registry.access.redhat.com', 'registry.redhat.io', 'docker.io']
insecure = true
-----

rocky-vm-02# mkdir mariadb

rocky-vm-02# cd mariadb

rocky-vm-02# pwd
/root/mariadb

rocky-vm-02# vi Dockerfile
-----
FROM arm64v8/mariadb:latest
-----

rocky-vm-02# vi build.sh
-----
#!/bin/bash -x
buildah rmi `buildah images -q mariadb` ;
buildah bud --no-cache -t mariadb . ;
buildah images -a
-----

rocky-vm-02# chmod 755 build.sh

rocky-vm-02# ./build.sh --------->> Select docker.io from the list when prompted
-----
To see the output, scroll down and click on the button 1) 'mariadb' build.sh output
-----

rocky-vm-02# mkdir /root/base

rocky-vm-02# cd /root/base

rocky-vm-02# vi Dockerfile
-----
FROM arm64v8/centos:latest
ENV container docker
RUN yum -y install epel-release ; yum -y update
RUN dnf module enable -y php:7.4
RUN dnf install -y php
RUN yum -y install wget curl net-tools iproute bridge-utils ; yum -y update
RUN (cd /lib/systemd/system/sysinit.target.wants/; for i in *; do [ $i == \
systemd-tmpfiles-setup.service ] || rm -f $i; done); \
rm -f /lib/systemd/system/multi-user.target.wants/*;\
rm -f /etc/systemd/system/*.wants/*;\
rm -f /lib/systemd/system/local-fs.target.wants/*; \
rm -f /lib/systemd/system/sockets.target.wants/*udev*; \
rm -f /lib/systemd/system/sockets.target.wants/*initctl*; \
rm -f /lib/systemd/system/basic.target.wants/*;\
rm -f /lib/systemd/system/anaconda.target.wants/*;
VOLUME [ "/sys/fs/cgroup" ]
CMD ["/usr/sbin/init"]
-----

rocky-vm-02# vi build.sh
-----
#!/bin/bash
buildah rmi `buildah images -q base` ;
buildah bud --no-cache -t base . ;
buildah images -a
-----

rocky-vm-02# chmod 755 build.sh

rocky-vm-02# ./build.sh
-----
To see the output, scroll down and click on the button 2) 'base' build.sh output
-----
rocky-vm-02# mkdir /root/tools

rocky-vm-02# cd /root/tools

rocky-vm-02# vi db-drop.sh
-----
#!/bin/bash
mysql -h192.168.122.191 -u root -prockylinux << eof
drop database wpressdb;
flush privileges;
eof
-----

rocky-vm-02# vi db-create.sh
-----
#!/bin/bash
mysql -h192.168.122.191 -u root -prockylinux << eof
create database wpressdb;
grant all on wpressdb.* to 'wpress-user'@'192.168.122.45' identified by 'wpress-pass';
flush privileges;
eof
-----

rocky-vm-02# vi Dockerfile
-----
FROM localhost/base
RUN yum -y install mysql
WORKDIR /root
COPY db-drop.sh db-drop.sh
COPY db-create.sh db-create.sh
-----

rocky-vm-02# vi build.sh
-----
#!/bin/bash -x
buildah rmi `buildah images -q tools` ;
buildah bud --no-cache -t tools . ;
buildah images -a
-----

rocky-vm-02# chmod 755 *.sh

rocky-vm-02# ./build.sh

-----
To see the output, scroll down and click on the button 3) 'tools' build.sh output
-----

rocky-vm-02# buildah images (or # podman images)
-----
REPOSITORY TAG IMAGE ID CREATED SIZE
localhost/tools latest 7ce17f60368e 38 minutes ago 565 MB
localhost/base latest 859c17ddf14a 16 hours ago 472 MB
docker.io/arm64v8/centos latest e6a0117ec169 5 days ago 279 MB
localhost/mariadb latest 63449ffc5ac6 2 weeks ago 400 MB
docker.io/arm64v8/mariadb latest 63449ffc5ac6 2 weeks ago 400 MB
-----

rocky-vm-02# vi run-initdb.sh
-----
#!/bin/bash
clear
date > /tmp/out ;
echo " "
echo "List existing volumes first...."
echo " "
podman volume ls ;
echo " "
echo "*** Starting mariadb container ***"
echo " "
podman run --name mariadb --label mariadb -d --net host \
             -e MYSQL_ROOT_PASSWORD=rockylinux -v /sys/fs/cgroup:/sys/fs/cgroup:ro \
             -v mariadb-data:/var/lib/mysql/data:Z mariadb ;

echo " "
echo "*** Will give 20 minutes for mariadb initialization to complete ***
sleep 1200 ;

echo " "
echo "*** Creating wpressdb Database ***"
podman run --rm --net host tools /root/db-create.sh ;
echo "Done."

podman volume ls ;

date >> /tmp/out ;
echo " "
echo "*** Start and End time ***"
echo " "
cat /tmp/out ;
rm /tmp/out
-----

rocky-vm-02# chmod 755 run-initdb.sh

rocky-vm-02# ./run-initdb.sh
-----
To see the output, scroll down and click on the button 4) 'run-initdb.sh' output
-----

Note:
-----
Let us manually verify that the Database was created successfully. Will do it by getting inside the mariadb
container itself

rocky-vm-02# podman exec -ti mariadb /bin/bash

rocky-vm-02# mysql -h192.168.122.191 -prockylinux
Welcome to the MariaDB monitor. Commands end with ; or \g.
Your MariaDB connection id is 5
Server version: 10.6.4-MariaDB-1:10.6.4+maria~focal mariadb.org binary distribution

Copyright (c) 2000, 2018, Oracle, MariaDB Corporation Ab and others.

Type 'help;' or '\h' for help. Type '\c' to clear the current input statement.

MariaDB [(none)]> show databases;
+--------------------+
| Database           |
+--------------------+
| data               |
| information_schema |
| mysql              |
| performance_schema |
| sys                |
| wpressdb           | --------------->> Database was created successfully !
+--------------------+
6 rows in set (0.596 sec)

MariaDB [(none)]> quit
Bye
rocky-vm-02# exit
exit

rocky-vm-02# podman ps -a
-----
CONTAINER ID IMAGE COMMAND CREATED STATUS PORTS NAMES
19e5ce1ee408 localhost/mariadb:latest mysqld 2 hours ago Up 2 hours ago mariadb
-----

Note:
-----
If for some reason we want to delete the newly created wpressdb Database alone without deleting the mariadb container,
we can run the following command as we have already added 'db-drop.sh' script along with 'db-create.sh while building
the 'tools' container

rocky-vm-02# podman run --rm --net host tools /root/db-drop.sh ;
Step 14: Steps carried out in rocky-vm-01 (192.168.122.45)


Now that we are done configuring the backend in Step 13, it is time to configure the frontend of WordPress in this
virtual machine. We are going to create files similar to the ones we created in Step 12, but the differences will
be evident as we move forward while building container to run this virtual machine as a frontend.

rocky-vm-01# hostname
rocky-vm-01

rocky-vm-01# whoami
root

rocky-vm-01# dnf install -y podman buildah

rocky-vm-01# vi /etc/containers/registries.conf
-----
[registries.insecure]
registries = ['registry.access.redhat.com', 'registry.redhat.io', 'docker.io']
insecure = true
-----

rocky-vm-01# mkdir /root/base

rocky-vm-01# cd /root/base

rocky-vm-01# vi Dockerfile
-----
FROM arm64v8/centos:latest
ENV container docker
RUN yum -y install epel-release ; yum -y update
RUN dnf module enable -y php:7.4
RUN dnf install -y php
RUN yum -y install wget curl net-tools iproute bridge-utils ; yum -y update
RUN (cd /lib/systemd/system/sysinit.target.wants/; for i in *; do [ $i == \
systemd-tmpfiles-setup.service ] || rm -f $i; done); \
rm -f /lib/systemd/system/multi-user.target.wants/*;\
rm -f /etc/systemd/system/*.wants/*;\
rm -f /lib/systemd/system/local-fs.target.wants/*; \
rm -f /lib/systemd/system/sockets.target.wants/*udev*; \
rm -f /lib/systemd/system/sockets.target.wants/*initctl*; \
rm -f /lib/systemd/system/basic.target.wants/*;\
rm -f /lib/systemd/system/anaconda.target.wants/*;
VOLUME [ "/sys/fs/cgroup" ]
CMD ["/usr/sbin/init"]
-----

rocky-vm-01# vi build.sh
-----
#!/bin/bash
buildah rmi `buildah images -q base` ;
buildah bud --no-cache -t base . ;
buildah images -a
-----
rocky-vm-01# ./build.sh
-----
To see a similar output, scroll up and click on the button 2) 'base' build.sh output
-----

rocky-vm-01# mkdir /root/wpress

rocky-vm-01# cd /root/wpress

The files that we create to build and run the wpress podman container are:
- wp-config.php
- php.ini
- Dockerfile
- build.sh
- run.sh
rocky-vm-01# vi wp-config.php
-----
To see file contents, scroll down and click on the button 5) wp-config.php
-----

rocky-vm-01# vi php.ini
-----
To see file contents, scroll down and click on the button 6) php.ini
-----

rocky-vm-01# vi Dockerfile
-----
FROM localhost/base
RUN yum -y install gd php-gd php-mysqlnd php-curl php-zip php-pecl-zip ; yum -y update ; yum clean all
EXPOSE 80
COPY php.ini /etc
RUN curl -O https://raw.githubusercontent.com/wp-cli/builds/gh-pages/phar/wp-cli.phar
RUN chmod 755 ./wp-cli.phar
RUN mv wp-cli.phar /usr/local/bin/wp
RUN wp core download --locale=en_US --skip-content --allow-root
COPY wp-config.php wp-config.php
RUN wp core install --admin_user=Admin --admin_password=rockylinux --url=http://192.168.122.45 --title=Wordpress \
                    --admin_email=none@rockylinux.io --allow-root
-----

rocky-vm-01# vi build.sh
-----
#!/bin/bash -x
buildah rmi `buildah images -q wpress` ;
buildah bud --no-cache -t wpress . ;
buildah images -a
-----
rocky-vm-01# ./buid.sh
-----
To see file contents, scroll down and click on the button 7) wpress build.sh output
-----

rocky-vm-01# podman images
-----
REPOSITORY TAG IMAGE ID CREATED SIZE
localhost/wpress latest b4f710404aec 12 hours ago 580 MB
localhost/base latest afdd445bf4a0 21 hours ago 472 MB
docker.io/arm64v8/centos latest e6a0117ec169 7 days ago 279 MB
-----

rocky-vm-01# vi run.sh
-----
#!/bin/bash
podman run --name wpress --net host --privileged -d -p 80:80 -v /sys/fs/cgroup:/sys/fs/cgroup:ro \
       wpress wp server --host=192.168.122.45 --port=80
-----

rocky-vm-01# ./run.sh
-----
Port mappings have been discarded as one of the Host, Container, Pod, and None network modes are in use
25220026b37d2939ad62910c1ed45f31ee2af89c0a24c6417e3251a392d1aef0
-----

-----
Note: There is a way to suppress the warning messages displayed above by modifying some file.
Will revisit this document again and update it.
-----
Verify the wpress container is running in rocky-vm-01:

rocky-vm-01# hostname
rocky-vm-01

// Verify the wpress container is running fine on rocky-vm-01

rocky-vm-01# podman ps -a
-----
[root@rocky-vm-01 wpress]# podman ps -a
CONTAINER ID IMAGE COMMAND CREATED STATUS PORTS NAMES
25220026b37d localhost/wpress:latest wp server --host=... 37 minutes ago Up 36 minutes ago wpress
-----

// Now verify the mariadb container is running fine in rocky-vm-02

rocky-vm-02# hostname
rocky-vm-02

rocky-vm-02# podman ps -a
-----
CONTAINER ID IMAGE COMMAND CREATED STATUS PORTS NAMES
a0c2e08974c2 localhost/mariadb:latest mysqld 16 hours ago Up 16 hours ago mariadb
-----

Note:
One way to verify that wpress container from rocky-vm-01 indeed got connected to mariadb container in rocky-vm-02
is by manually running mysql client on rocky-vm-02 and display that tables are indeed created in the wpressdb database.

-----
To see the output, scroll up and click on the button 8) Display mariadb tables
-----

Finally, from host, open up the browser http://192.168.122.45:80
Step 15: Performance of virtual machines while running wordpress
Here are a couple of videos to show a glimpse on how the virtual machines performed with wordpress running on the virtual machines. The first video shows the performance of both the virtual machines within the virt-manger's UI, along with 'htop'.
The second video shows 'htop' output after ssh'ing into the host.
Step 16: Installing Webmin
host# dnf install -y perl

( Might need these commands - # dnf module switch-to perl:5.26 ; # dnf install -y perl )

host# vi /etc/yum.repos.d/webmin.repo
-----
[Webmin]
name=Webmin Distribution Neutral
#baseurl=http://download.webmin.com/download/yum
mirrorlist=http://download.webmin.com/download/yum/mirrorlist
enabled=1
-----

host# yum install -y wget

host# wget http://www.webmin.com/jcameron-key.asc

host# rpm --import jcameron-key.asc

host# yum install -y webmin

Open up the browser https://10.1.1.160:10000 and log in with root credentials
